
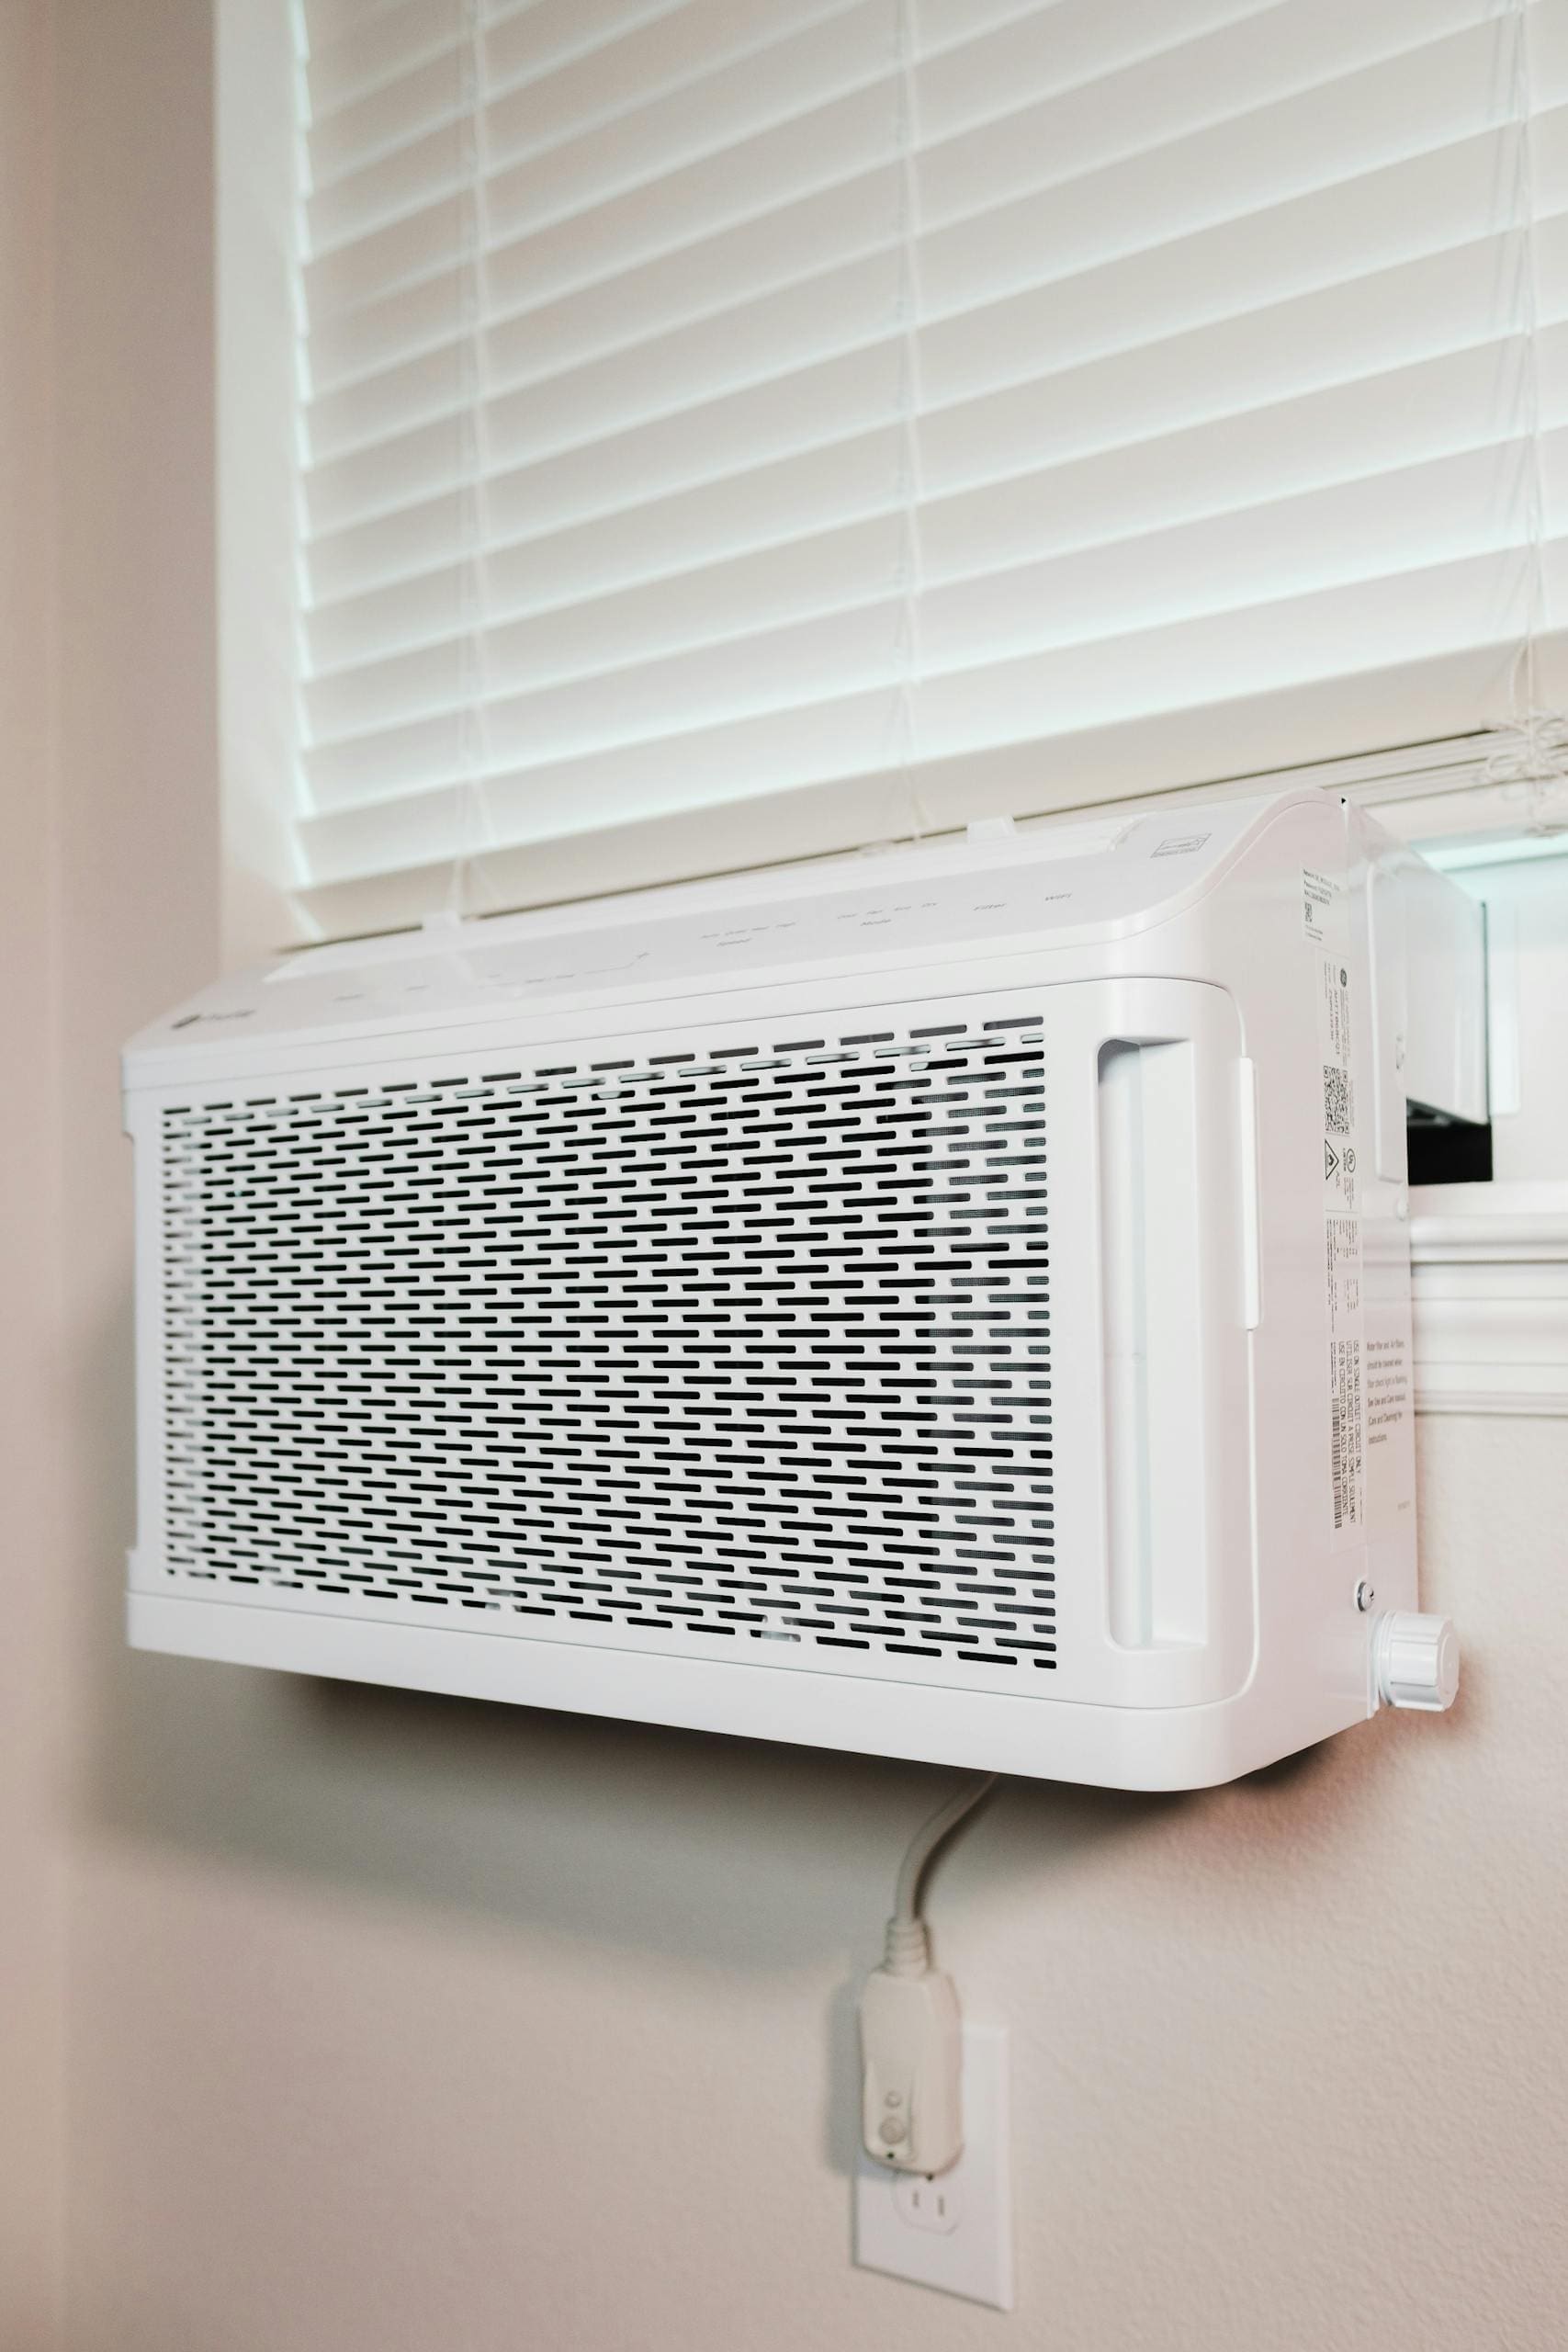
How to Install a Window AC Unit: A Step-by-Step Guide for Homeowners
How to Install a Window AC Unit: A Step-by-Step Guide
Installing a window air conditioner is one of the most effective ways to beat the heat. While it might seem daunting, most homeowners can complete the installation in under an hour with the right tools and a bit of patience. This guide will walk you through the entire process to ensure a secure and efficient setup.
Preparation and Tools
Before you lift the unit, make sure you have everything you need.
- Tape Measure: To verify window and unit dimensions.
- Screwdriver: For securing brackets and side panels.
- Level: To ensure the unit tilts slightly outward for drainage.
- Weather Stripping: To seal any gaps and prevent air leaks.
Safety First
Window AC units are heavy. It is highly recommended to have a second person assist you with the lifting and positioning to avoid injury or damage to the unit.
Step 1: Preparing the Window
Open the window and clean the sill. Remove any debris that might prevent a tight seal.
- Measure the width of the window opening.
- Center the mounting brackets if your model requires them.
- Apply weather stripping to the bottom sill.
Step 2: Attaching the Side Panels
Slide the accordion-style side panels into the tracks on the unit. These panels are crucial for keeping insects and hot air out of your home.
Step 3: Positioning the Unit
Carefully lift the AC unit and place it onto the window sill.
- Lower the Window Sash: The sash should rest firmly behind the top rail of the unit.
- Check the Tilt: Most units require a slight downward tilt towards the outside to allow condensation to drain properly.
Conclusion
With your window air conditioner properly installed, you can enjoy a cool and comfortable home all summer long. Regular maintenance, like cleaning the filter, will keep it running efficiently for years to come.


