How to Choose a Candle Making Kit
The wax type a kit uses sets the burn quality, scent throw, and how forgiving the process is for a beginner. Wick sizing, fragrance load, and included containers decide how well the finished candles perform. Melting tools and instructions affect how smoothly a first pour goes. Matching the wax and wick to your goals keeps candles burning clean and scented evenly.
Wax Type and Burn Quality
Soy wax burns cleanly and holds fragrance well, making it a common choice for beginners, while beeswax offers a natural scent and long burn at a higher price. Paraffin throws scent strongly but burns faster, and coconut blends aim to combine clean burn with strong throw.
Each wax has a different melt point and pour temperature that affects the finish. The wax the kit supplies shapes both the process and the candle, so match it to the results you want.
Wick Type and Sizing
Wick size must match the container diameter, since a wick too small tunnels and one too large smokes. Cotton wicks suit most waxes, while wood wicks add a crackle and a wider, gentler flame.
A kit that includes correctly sized wicks for its containers saves guesswork on your first batch. Consider whether you will reuse the containers, since resizing wicks matters when you change vessels.
Fragrance Load and Scent Throw
Fragrance oils made for candles blend into the wax and release scent as it burns, and the recommended load balances throw against a clean burn. Overloading fragrance can cause sweating and poor burning.
Cold throw is the scent unlit, while hot throw is the scent when burning, and both depend on wax and load. Essential oils behave differently from fragrance oils, so follow the kit’s guidance for even scenting.
Containers and Molds
Heat-safe jars and tins contain the melted wax and shape the finished candle, so quality vessels matter for safety. Molds let you make pillar and shaped candles that stand on their own with a firmer wax.
Consider how many candles the kit makes and whether the containers suit your decor or gifting plans. Reusable containers add value if you plan to make candles regularly.
Melting Tools and Equipment
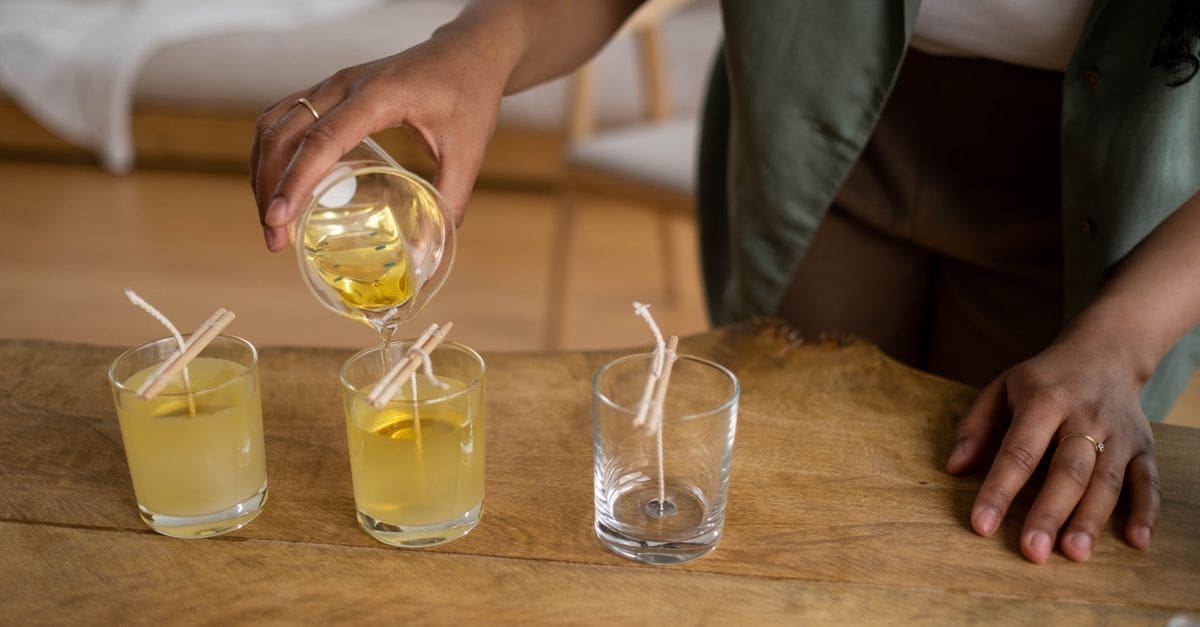
A pouring pitcher and a thermometer let you melt and pour at the right temperature, which is central to a smooth top and good adhesion. Pouring too hot or cold causes sinkholes and wet spots on the glass.
A double-boiler setup melts wax gently without scorching, and a kit that includes or specifies these tools helps you prepare. Keeping equipment dedicated to candle making avoids mixing with food use.
Instructions and Safety
Clear instructions with temperatures and cure times turn a first pour into a clean, even candle. Curing the finished candle for the recommended time improves the scent throw.
Safe practices matter, from handling hot wax to trimming wicks before each burn. A kit that explains wick trimming and burn safety sets you up for candles that perform well.
What to Check Before You Buy
- Choose a wax type suited to clean burn, scent throw, or natural appeal.
- Confirm wick sizes match the containers for a clean burn.
- Check the fragrance load guidance to balance throw and burn.
- Look at the containers or molds for your candle style and count.
- Verify a pouring pitcher and thermometer are included or specified.
- Prefer a kit that explains melt and pour temperatures.
- Check cure-time guidance for better scent throw.
- Confirm the instructions cover wick trimming and burn safety.
How to Choose a Candle Making Kit
Start with the candles you want to make, then weigh wax type, wick sizing, and fragrance against tools and instructions.
- Decide which wax suits your burn and scent goals.
- Confirm the wicks are sized correctly for the containers.
- Check the fragrance load balances throw and clean burning.
- Choose containers or molds for your candle style and count.
- Verify melting tools and a thermometer are covered.
- Prefer clear instructions on temperatures, curing, and safety.
Ready to shop? Browse our full list of Candle Making Kits to compare current options and prices.